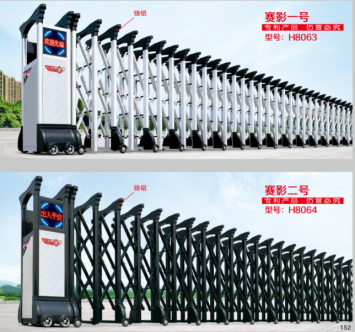
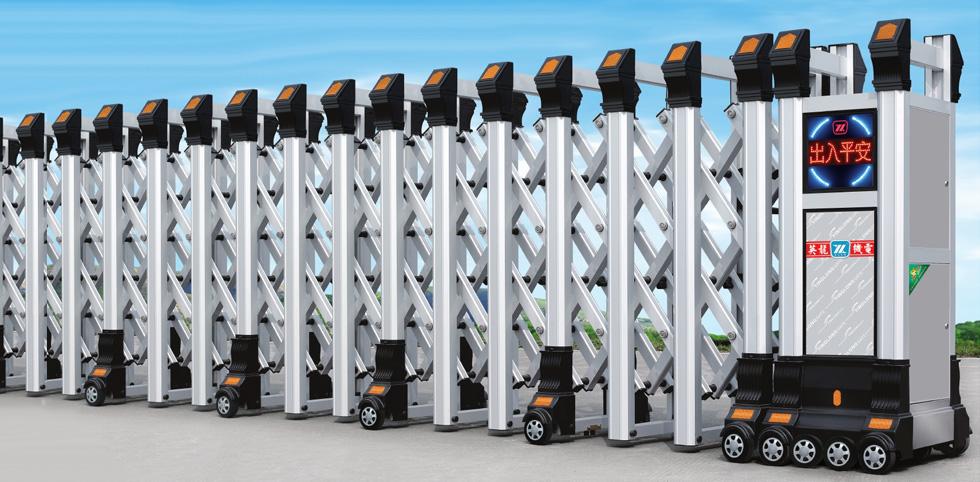
Saiying No. 1, No. 2
Saiying No.1 and saiying No.2 expansion doors of Haifeng Automatic Door Co., Ltd. are simple, generous and decent in appearance! Put on the line lightly, success is in hand! Saiying series not only pursues simplicity, but also strengthens the door structure. The door head is made of high-strength alloy aluminum by one-time casting! 58x51mm high strength aluminum alloy special-shaped main material plus 38x25mm olive three row mesh linkage, the structure is firm and smooth without any doubt! Wheel center distance 720mm. The total width is 790mm.
Gradually install the electric expansion door
1: First, take out a piece of wood sealed by the wooden box from the end of the machine head, and then pull the door row out of the wooden box.
2: After unplugging, find out the nose key. The key of the machine head is generally tied on the movable circular pipe of the horizontal bar at the end of the door row and bound with a bandage.
3: Open the head cover with the key and take out the white box beside the motor. There are wireless remote control * 2, wireless console * 1, clutch key * 1.
4: The function of the wireless remote control is to control the operation of the retractable door, which is small and exquisite and easy to carry. Console control is used for daily operation of security personnel and placed in the guard room.
5: If "the gear rotates and the shaft rotates" appears during the operation of the remote control door body, it means that the motor clutch is not closed. Insert the hex clutch key into the shaft end of the motor harness chain. There is a concave hexagon groove. Insert the clutch key and rotate 180 degrees to open the clutch.
6: After the motor debugging, close the door row to the wall (the position of the door body needs to be fixed). There are three fixed parts at the bottom of the end of the door body. The first is the corner code on the horizontal square tube in the middle of the door row, which can be fixed on the wall
Upward square has a horizontal pipe at the bottom of the last line of the door, there are two stainless steel corner codes at the left and right ends of the internal aspects, which can solve the problem of the door body on the ground (suitable for installation position without wall column).
7: After the door body and wall are closed, the central part of the door body shall prevail (i.e. assuming your door width is 80 cm)
The circular magnet is installed at 40 cm) position, a circular magnet is buried every 20 - 25 cm along the straight line in the middle part of the door from the edge to the edge of the wall (note that when the magnet is buried, all embedded magnets
Iron, including square magnets, needs to be completely buried on a polar surface [that is, if the first magnet is buried in the same phase, then the magnets installed at the back need to be buried in the same phase])
8: After the circular magnet is embedded, when burying a square magnet (the limit stop body of the control door) directly below the stop position of the head, the traveling door is closed.
9: The body behind the door is fully extended, burying a square magnet directly in front of 30 to 100 mm (i.e. close to 30 to 100 cm from a part of the head needs to stop) and a part of the head needs to stop.